
Accessing Canvas Archiving
Once your Canvas Archiving instance is created, the Point of Contact will receive an email with their login details. From there, they can proceed to set up the instance or invite more users.
Setting Up Canvas Archiving
Apply Institution Theme
Apply Institution Theme
To update the theme on your institution’s Canvas Archiving instance:
Select Admin in the Navigation menu.
Select Styling
Click the Upload Logo to replace the current logo for light and dark mode.
Click the Color buttons, to update the colors to use for the theme.
Preview the new colors and ensure they will meet accessibility requirements.
Click Save
Changes will apply in a few minutes after saving.

Inviting Users
Inviting Users
To add users in Canvas Archiving:
Go to Users & Roles in the navigation menu.
Click "Add User".
Enter email addresses on the User Create page.
Click "Process".
Review and adjust the list of accounts.
Click "Create Accounts".
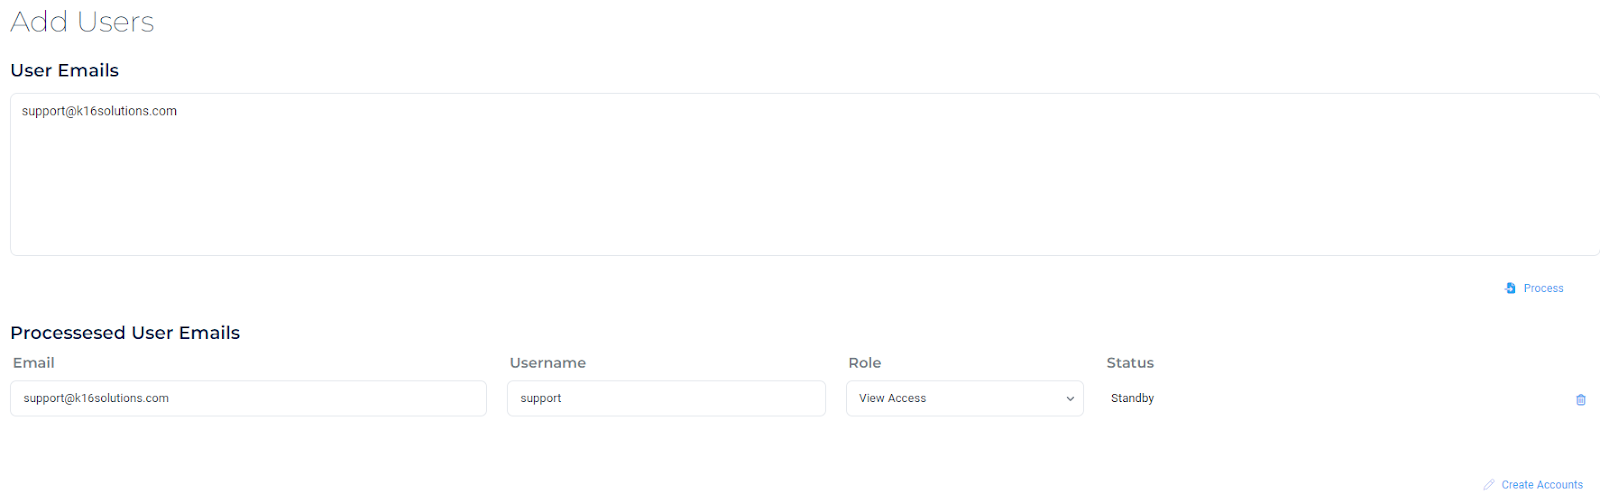
Note: Resolve any errors with email aliases or usernames already in use. Default roles include Admin, Faculty (requires course addition), and View Access (read-only for all courses and terms).
Creating an Integration to Canvas
Creating an Integration to Canvas
To successfully create an integration to Canvas, you will need to create a Canvas Utility Account and ensure all required permissions are enabled.
Please visit our Canvas Archiving Integration help article for details on creating a Canvas Utility Account, enabling Canvas Permissions, and creating the integration to Canvas.
Starting an Import
Starting an Import
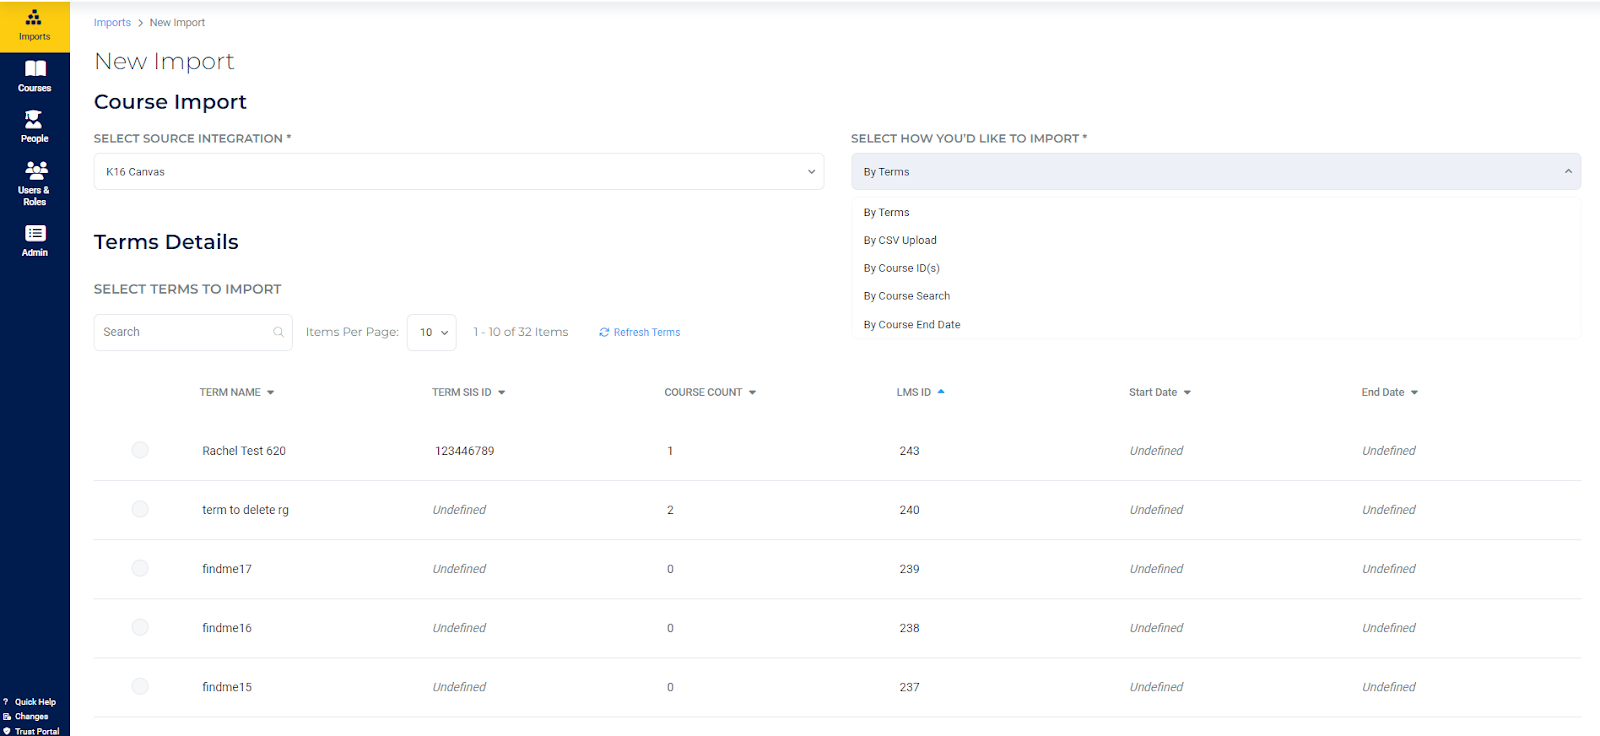
Once the integration has been created, you can then start an import to archive courses from your canvas instance.
Select Imports on the navigation menu.
Click "+ New Import"
Select the source integration
Select the the Import by:
Terms: Select a term and import all courses associated with the term.
CSV: Upload a CSV file. Use the "Download Template" link for proper formatting.
Course ID(s): Enter the Canvas Course IDs.
Course Search: Enter the course name, course code, or SIS ID
Course End Date: Select a course end date to import courses ending before this date.
Click "Start Import."
Navigate Canvas Archiving
Navigate Canvas Archiving
Once courses have been imported and archived successfully, take the time to navigate your instance.
We recommend reviewing courses, terms, and the People section. Additionally, consider exporting gradebook data within a course and restoring soft-deleted courses.
Support
When setting up Canvas Archiving, you have several ways to get help:
Email your K16 Client Success Manager directly or our support team at [email protected]
Use our Quick Help interactive tours, to walk you through the set up.
Use the support feature in Canvas Archiving by clicking the question mark icon in the lower right corner.
Access our help desk articles for detailed step-by-step instructions on all features.